

If you’re new to playing the mandolin, one of the first things you’ll need to learn is how to tune it. Tuning your mandolin correctly is essential for achieving a great sound and making sure that your instrument plays in tune with other musicians. In this article, we’ll take a look at the basics of tuning a mandolin, including the different tuning methods, the tools you’ll need, and some tips for getting the best results.
Learning Mandolin? Check out our Free Mandolin Tabs resource.
How to Tune a Mandolin
The first thing you’ll need to know is the standard tuning for a mandolin. The most common tuning is G-D-A-E, which is the same as the top four strings of a guitar, but tuned one octave higher. To tune your mandolin to this standard tuning, you’ll need a tuner, either a digital tuner or a tuning fork, and some patience.
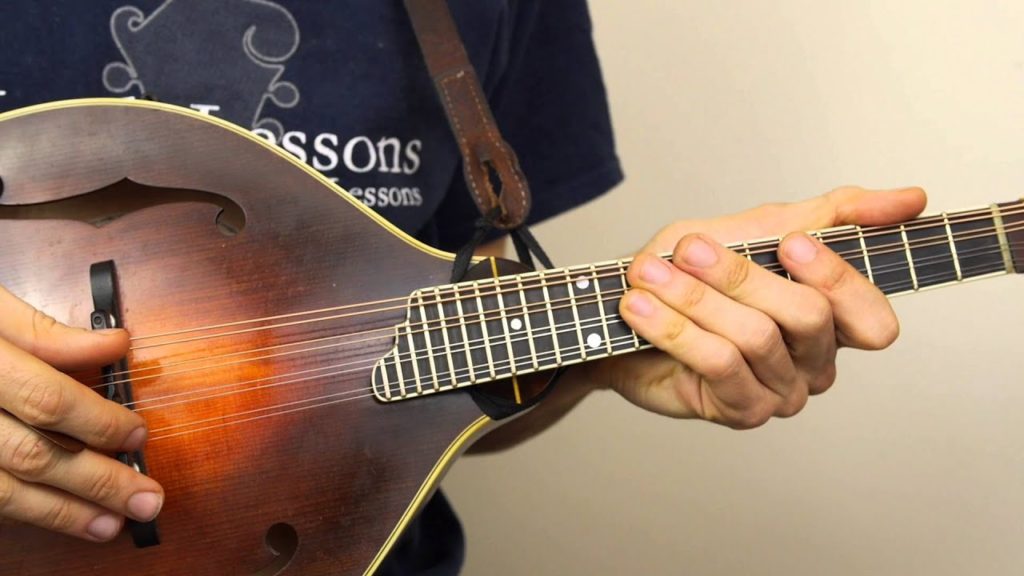
Each pair of strings is tuned to the same pitch, with the pairs generally tuned in unison. The standard tuning for a mandolin’s pairs of strings, from low to high, is G-G, D-D, A-A, and E-E. The paired strings contribute to the mandolin’s distinct timbre and facilitate the instrument’s characteristic tremolo technique, where rapid alternating strokes create a sustained and vibrant sound. The lowest string on a mandolin is typically the G string.
To begin, turn on your digital tuner and pluck the first string (G) on your mandolin. The tuner will display whether the note is sharp or flat, and you can adjust the tuning pegs until the tuner reads “G.” Repeat this process for the other strings, tuning each one to the correct note. If you’re using a tuning fork, strike the fork and place it on the body of your mandolin near the bridge. Play the string that matches the fork’s pitch until you achieve the right sound.
It’s important to note that there are alternative tunings for the mandolin that can create unique and interesting sounds. One popular tuning is the “bluegrass tuning,” which is G-D-G-B, with the third string tuned up one whole step to create a higher pitch. Other tunings, like the “open G” and “double C,” are popular in different genres of music.
When tuning your mandolin, it’s also important to keep in mind that the strings can stretch over time and lose their tuning. This is especially true for new strings, which will need to be tuned frequently until they settle in. It’s a good idea to check the tuning of your mandolin regularly, especially before playing with other musicians.
Finally, there are some tips that can help you get the best sound from your mandolin. One important tip is to make sure your strings are in good condition. Old or worn strings can produce a dull or flat sound, and should be replaced regularly. Another tip is to tune your mandolin in a quiet room, away from other noise or distractions. This will help you hear the subtle changes in pitch and get a more accurate tuning.
In conclusion, tuning a mandolin is a crucial step in achieving a great sound and playing in tune with others. Whether you’re a beginner or an experienced musician, taking the time to tune your mandolin properly is essential for getting the best possible results. With the right tools and some patience, you’ll be able to achieve a beautiful and accurate sound on your mandolin every time you play.
In this video, we show you the step by step process of how to tune a Mandolin. Great for beginners.
Video Text:
0:00:03.3 –>
hi my name is Brad Laird in this video lesson you’ll learn to tune your mandolin by matching the sound of your strings to mine the tuners are designed to tighten or loosen the string if you make the string tighter the pitch goes up if you loosen the string the pitch goes down in this video I’ll play a string and then you raise or lower the sound of your string until it matches mine if you can’t decide which way to go loosen your string until it definitely sounds lower and then tighten it slowly until it sounds the same as mine first we’ll tune one of the G strings follow the upper g string to the peghead to be sure you turn the correct knob it will be the first to no button on the upper side here as you tune play the string steadily with the pick so that you can hear the note as it changes don’t adjust the tuner unless you can hear the string
0:01:00.8 –>
you need to hear the note as u10 if you’re playing the string and turning the tuner and the pitch isn’t changing stop you might be turning the wrong button or picking the wrong string before we start to tune play the g string and turn the button to be sure you know which direction lowers the pitch and which way raises the pitch here’s the sound of my g string raise or lower the pitch of your upper g-string until it matches the sound of mine were you able to get your string sounding like mine replay this video a few times and keep trying if you’re having trouble you’ll soon get the hang of it now that one of your G strings is in tune you need to match the other g string to the one you just tuned
0:02:01 –>
watch as I tune my other g string first I will move over to the next tuner button because I don’t want to change the string I just tuned while I’m playing both strings I will lower the pitch a little bit and then slowly bring it up so the both strings sound the same that’s it pause the video and tune your other g string when you have them sounding the same you can restart the video next we’ll tune the D string here is the sound of the D string be sure you turn the correct button and match your upper D string to the sound of mine now you should match your other D string
0:03:02.5 –>
to the one you just tuned pause the video and when you have them sounding the same restart the video next we’ll tune the a string here’s the sound of the a string make sure you turn the correct button and match your upper a string to mine now you should match your other a string to the one you just tuned pause the video and when you have them sounding the same restart the video next we’ll tune the E string here’s the sound of the E string again be sure you turn the correct button and match your
0:04:00.1 –>
upper east string to the sound of mine now you should match your other east string to the one you just tuned pause the video and when you have them sounding the same restart the video and I’ll play each string again for you here’s the sound of the g string here’s the d-string now the a string and finally the E string learning to tune by ear is a valuable skill that you will develop over time if you practice remember the most basic thing you can do to make all your plagues sound better is to be in tune thanks for watching and I’ll see you next time
Mandolin Articles
Beginner Mandolin Lessons
Common Problems with Mandolins
Ibanez Mandolin Models