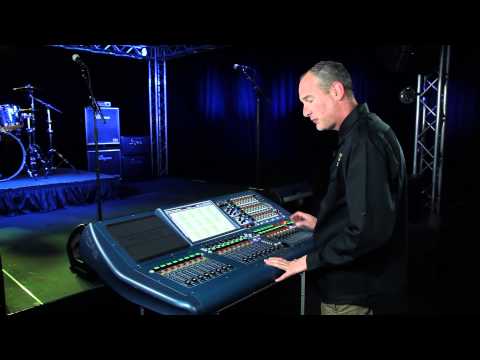
Midas PRO2 Digital Mixing Console:
In this video, we take you through setting up the PRO2 for Front of House Position.
Video text:
0:00:14.7 –>
hi I’m Kyle with Midas and I’m going to show you a quick way to set up a pro 2 as a front of house console so starting from scratch on the pro 2 what I’m going to do is go to my top screen access button it says automation and filing I’m going to go to the tab that says new over on the left-hand corner and go ahead and create a new show to start writing on the desk I need to skip down to this first empty scene away from the global safe scene and press store on the console then press ok to save the actual entire show file I need to go to the top and click on the red save and make sure the not saved designation goes away working down the screen access buttons I’m going to go ahead and press the
0:01:01.3 –>
second one down that is effects in graphics for effects I’m going to go ahead and just load up a generic effect rack go to change device type grab some reverbs you grab a delay make sure I click that global tap at the top and I’m going to go ahead and grab a three-band compressor to put in as well that’s just populated my rack now let’s do the graphics go to the top click on the top EQ go to the drop down menu on the left hand side scroll to the bottom
0:02:00.3 –>
put that on my left I’m going to go over to the right hand side of the graphic in the GUI and make sure I turn it on scroll down get the drop down menu to master right and turn that on as well while I’m on this page I might as well select my left hand output and go hit the gray link button so now left and right are linked and if I make any EQ adjustments they’ll affect both sides this is the time I would go in and label my desk go ahead and insert my input list label my outputs label my effect sends my effects returns and get all the stuff happening through the input and output button on the console and the bottom button that’s labeled VCS I have a preset file made of my input list so I’m just going to go ahead and import that notice at the end of my input list
0:03:03.3 –>
I’m only using 24 channels so I just made the first bank of 8 after that 24 dark by using the color palette that way if I am scrolling through my input list I can tell when I hit that dark section that I need to go back the other direction now to keep it a one-step process I’ll use the color palette on the VCA page to basically color my entire section once I have the color for the palette chosen I can press and hold and go through my input list and add those to my VCS press and hold ad now that I’ve assigned everything to my VCAs on the VCA page there’s a little Paint Bucket and now I can use that to spill the
0:04:02.4 –>
color across those groups that I just made so the corresponding BCA now matches the color of my input channels you
In this video, we take you through setting up the PRO2 for Front of House Position. Part two includes:
Patching Inputs and Outputs
Channel Setup
Checking Signal Flow
