

Audio compression is an essential tool used in recording, mixing, and mastering music. It helps to control the dynamic range of a track, making it more consistent and easier to listen to. In this article, we will explore the basics of audio compression, including what it is, how it works, and its different uses in music production.
The Basics of How to Compress
What is Audio Compression?
Audio compression is the process of reducing the dynamic range of an audio signal. Dynamic range refers to the difference between the loudest and quietest parts of a track. A well-compressed track will have a more consistent level throughout, making it easier to listen to on different systems and in different environments.
How does Audio Compression Work?
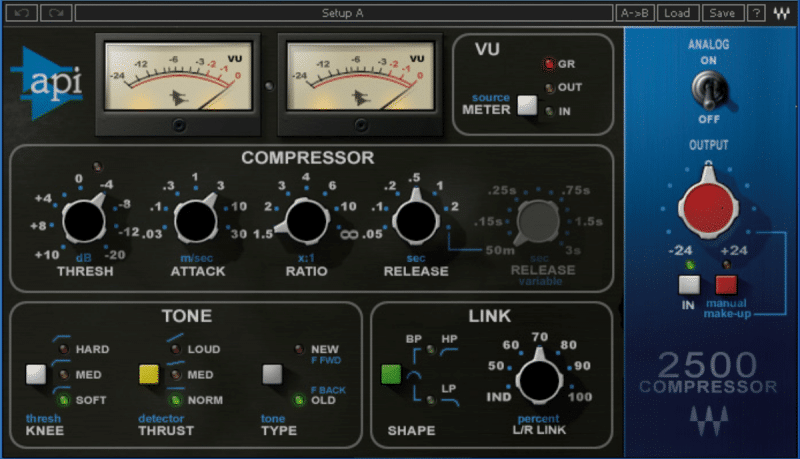
Audio compression works by reducing the gain of loud signals while leaving quieter signals unchanged. This is done using a compressor, which measures the level of an incoming signal and applies gain reduction when the signal exceeds a certain threshold. The amount of gain reduction applied is determined by the ratio setting on the compressor, which determines how much the level of the signal will be reduced when it exceeds the threshold.
There are several other parameters that can be adjusted on a compressor, including attack, release, and knee. Attack determines how quickly the compressor starts reducing gain when the signal exceeds the threshold, while release determines how quickly it stops reducing gain once the signal drops below the threshold. Knee determines how smoothly the compressor starts and stops reducing gain, while also affecting the shape of the compression curve.
Different Uses of Audio Compression
Audio compression can be used for several different purposes in music production, including:
- Leveling: One of the most common uses of audio compression is to level out the volume of a track. This can be useful for tracks that have a wide dynamic range, such as vocals or acoustic instruments. By compressing the louder parts of the track, the overall level can be increased, making the quieter parts more audible.
- Taming Transients: Another common use of audio compression is to tame transients in a track. Transients are sudden peaks in volume that can be caused by things like drum hits or plosives in vocals. By compressing the transient peaks, the overall level of the track can be reduced, making it easier to mix.
- Gluing: Audio compression can also be used to glue together multiple tracks in a mix. By applying a small amount of compression to each track, they can be made to sound more cohesive and unified.
- Special Effects: Finally, audio compression can be used for special effects, such as pumping or sidechain compression. These techniques involve using a compressor to create rhythmic effects or to make one track duck in volume when another track plays.
Conclusion
Audio compression is a powerful tool that is essential for any music producer or engineer. By understanding the basics of audio compression, you can start using it to create more dynamic and consistent tracks that are easier to listen to. Whether you’re leveling out vocals, taming transients in drums, or creating special effects, compression is an essential part of the music production process.
This tutorial explains the fundamentals of audio compression, dynamic range, using the threshold, ratio, and gain controls of the Fruity Limiter plugin in FL Studio 12, and teaches you the basics of how to compress properly.
– Uses of Compression
– What is Dynamic Range?
– What is Compression?
– Fruity Limiter
– Compressor Controls (Threshold, Ratio, Gain)
– Compression Demonstration
– Compression Explained
Threshold
– Ratio
Make-up Gain
– Compressed vs. Uncompressed (A/B Compare)
– Compressed vs. Uncompressed (Visualized)